
Win-AFL's documentation is fairly lacking when it comes to installation procedures with newer toolkits. Because of this, I decided to help the fuzzing and reverse engineering community by writing a guide to getting started with Win-AFL and getting through its installation process. Please note, this is in no way meant to be a comprehensive guide to all things AFL or Win-AFL. This serves only as a quick guide to get someone spun up with Win-AFL on newer versions of Windows.
Requirements
- Visual Studio 2017 (DynamoRIO states that newer versions are not officially supported)
- With some work DynamoRIO might be able to work with VS2019, but this guide will assume Visual Studio 2017 is being used for simplicity.
- Windows 10 2004+ (This guide is written with this version in mind)
- DynamoRIO 8.0.0+
Installing Visual Studio 2017
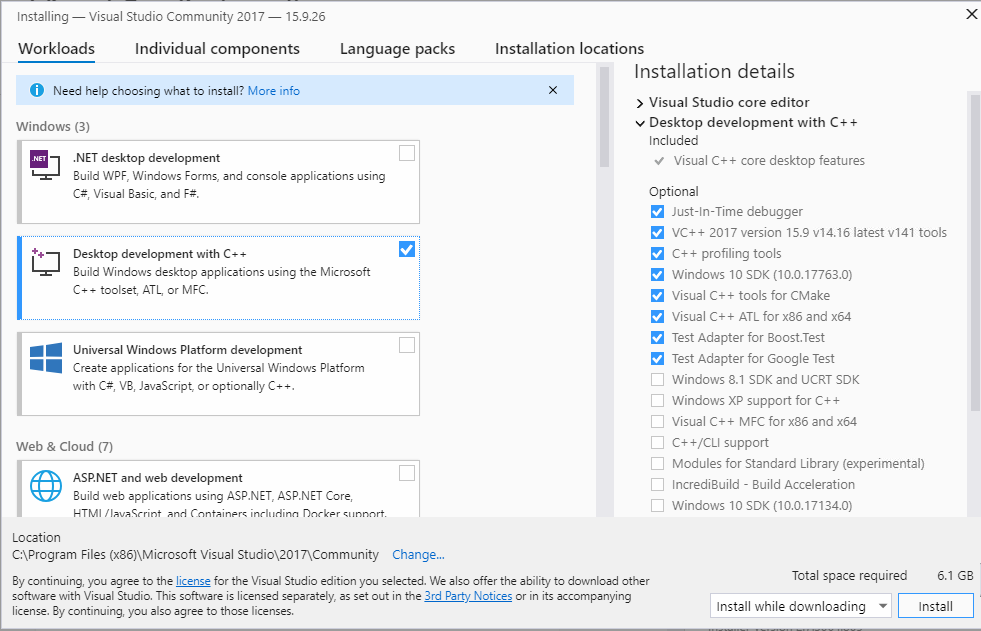
To get the older version of Visual Studio legitimately you'll need to go through the Dev Essentials program. Here you can register a free account and grab the Visual Studio 2017 installer. Once downloaded, go through the normal installation procedures and select the Desktop development with C++ Workload to get the MSVC toolkit for Win-AFL.
Although it may be possible to get Visual Studio 2019 working with the current version of Win-AFL (de8a1b19d6aa32c8c6228156b69480cce7d50fe6) and the current version of DynamoRIO (8.0.0), DynamoRIO has open issues regarding VS 2019 support in its build and testing pipeline so it is considered "unofficially" supported.
Installing DynamoRIO & WinAFL
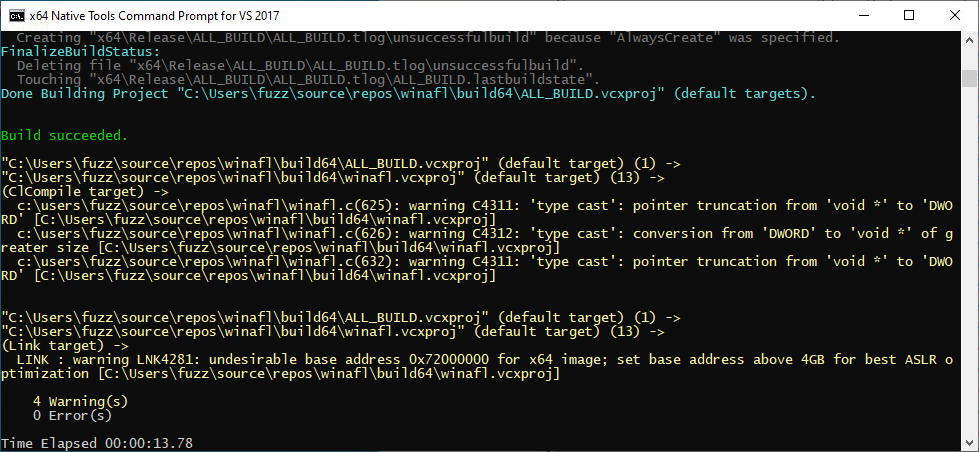
For this guide we will be using the pre-built 8.0.0 binaries so these can be dropped in any location. We will be using C:\DynamoRIO-Windows-8.0.0-1 moving forward. With these binaries placed we can begin to build process for WinAFL. The instructions for building WinAFL should be followed as is for this section now that the DynamoRIO and Visual Studio compatibility issues are out of the way.
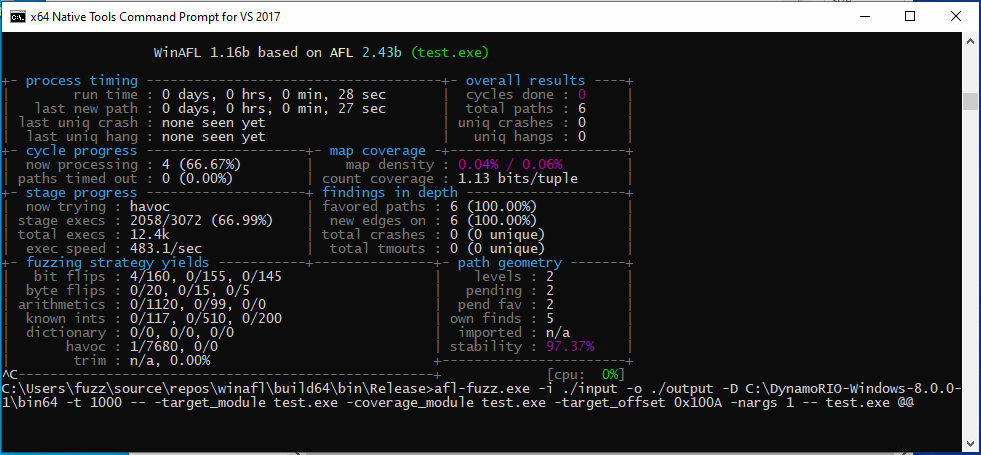
Once WinAFL is built, we can do a test run with the test.exe application that is compiled. Create a folder in the bin\Release folder containing afl-fuzz.exe called input and a folder called output. Inside the input folder add a document called test containing the word test. This will act as our test input for ensuring WinAFL compiled correctly and can be run. To run WinAFL on the test.exe application we use afl-fuzz.exe -i ./input -o ./output -D C:\DynamoRIO-Windows-8.0.0-1\bin64 -t 1000 -- -target_module test.exe -coverage_module test.exe -target_offset 0x100A -nargs 1 -- test.exe @@. If this does not work out of the box, the target_offset parameter may be incorrect. This value should be the offset to the location of the function that calls fopen(). The result should look like the following if successful:
Conclusion
This should be enough to get started with WinAFL. From here additional work can be done with creating harnesses around more complex applications or optimizing based on hardware and AFL flags. Following this article I may give a more in depth article discussing how to harness an application and fuzz from start to finish. For now I hope this has helped anyone reading, happy hacking!